The fastest way to stop chasing payments is to collect them at the moment a client commits — when they book. This guide covers the three ways money comes in around an appointment: paying to book, paying after a visit, and paying in person. All of it runs on one Stripe connection.
One prerequisite: you'll need Stripe connected first. It's a two-minute setup (or hand it to us). Start with the Connect Your Stripe walkthrough if you haven't yet.
The two-calendar setup most practitioners use
A pattern that works beautifully for session-based practices: run two calendars.
- A free consultation calendar — no charge, low barrier, lets new clients meet you before committing.
- A paid session calendar — with a price attached, so booking and payment happen in the same step.
New clients start on the free consult; returning clients book and pay on the session calendar directly. You can embed either one anywhere on your website.
Attaching a price to a calendar
Open the calendar you want to charge for and go to Edit calendar → Advanced settings → Payments, then switch on Accept payments. Your connected Stripe account appears right there — the same one from the connection step.
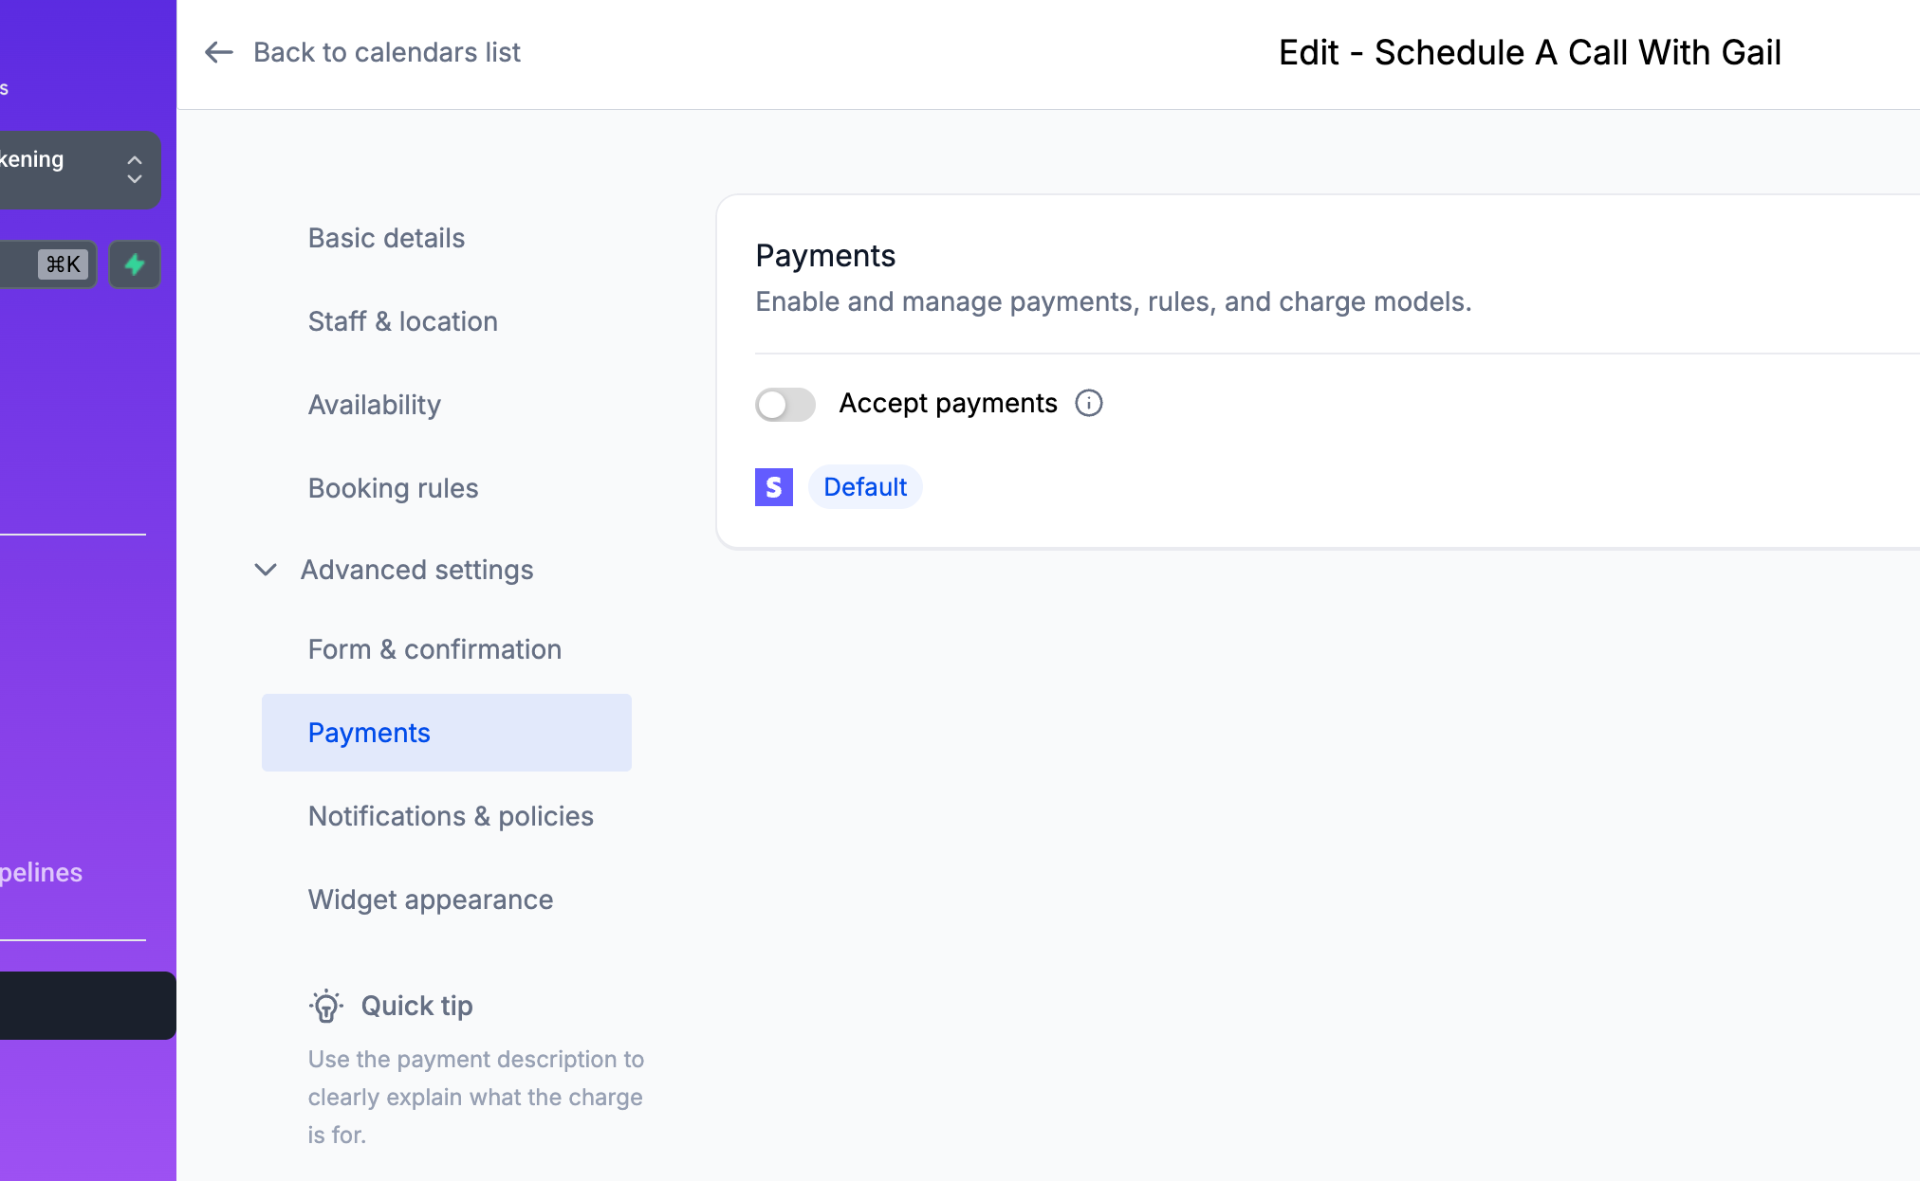
From there you choose how much to collect:
- Full payment — the client pays the whole session fee to book. Best for established clients and virtual sessions.
- Deposit — the client pays a partial amount to hold the slot; you collect the balance at or after the appointment. Best for higher-ticket or in-person work.
Either way, the calendar won't confirm the booking until payment goes through — which is the single most effective no-show reducer there is.
Getting paid after a visit
Not every payment fits neatly at booking. For balances, add-ons, or walk-ups, you have two fast options:
- Text-to-pay — send a payment link by text or email and the client pays in a tap from their phone. Most people pay within minutes.
- Invoices & estimates — create a branded invoice, send it automatically after the appointment, and let them pay online. This is also the right tool before you've connected Stripe — you can invoice manually and switch to automatic collection later.
In-person payments: your phone is the terminal
For office visits, retreats, and trade shows, the LeadConnector mobile app turns your phone into a card reader:
- Tap-to-pay — accept contactless cards, Apple Pay, and Google Pay directly on your phone. No extra hardware to buy or charge.
- Take cards in person — at a booth or pop-up, tap a contactless card or phone, or key in the number by hand. (It's tap or type — there's no magstripe swipe.)
- It all reconciles itself — an in-person sale lands on the same client record as their bookings and messages, so you're not stitching together a separate POS dashboard at tax time.
If a card reader is the only reason you keep Square around, this is the feature that replaces it.
After you connect: dial in two settings
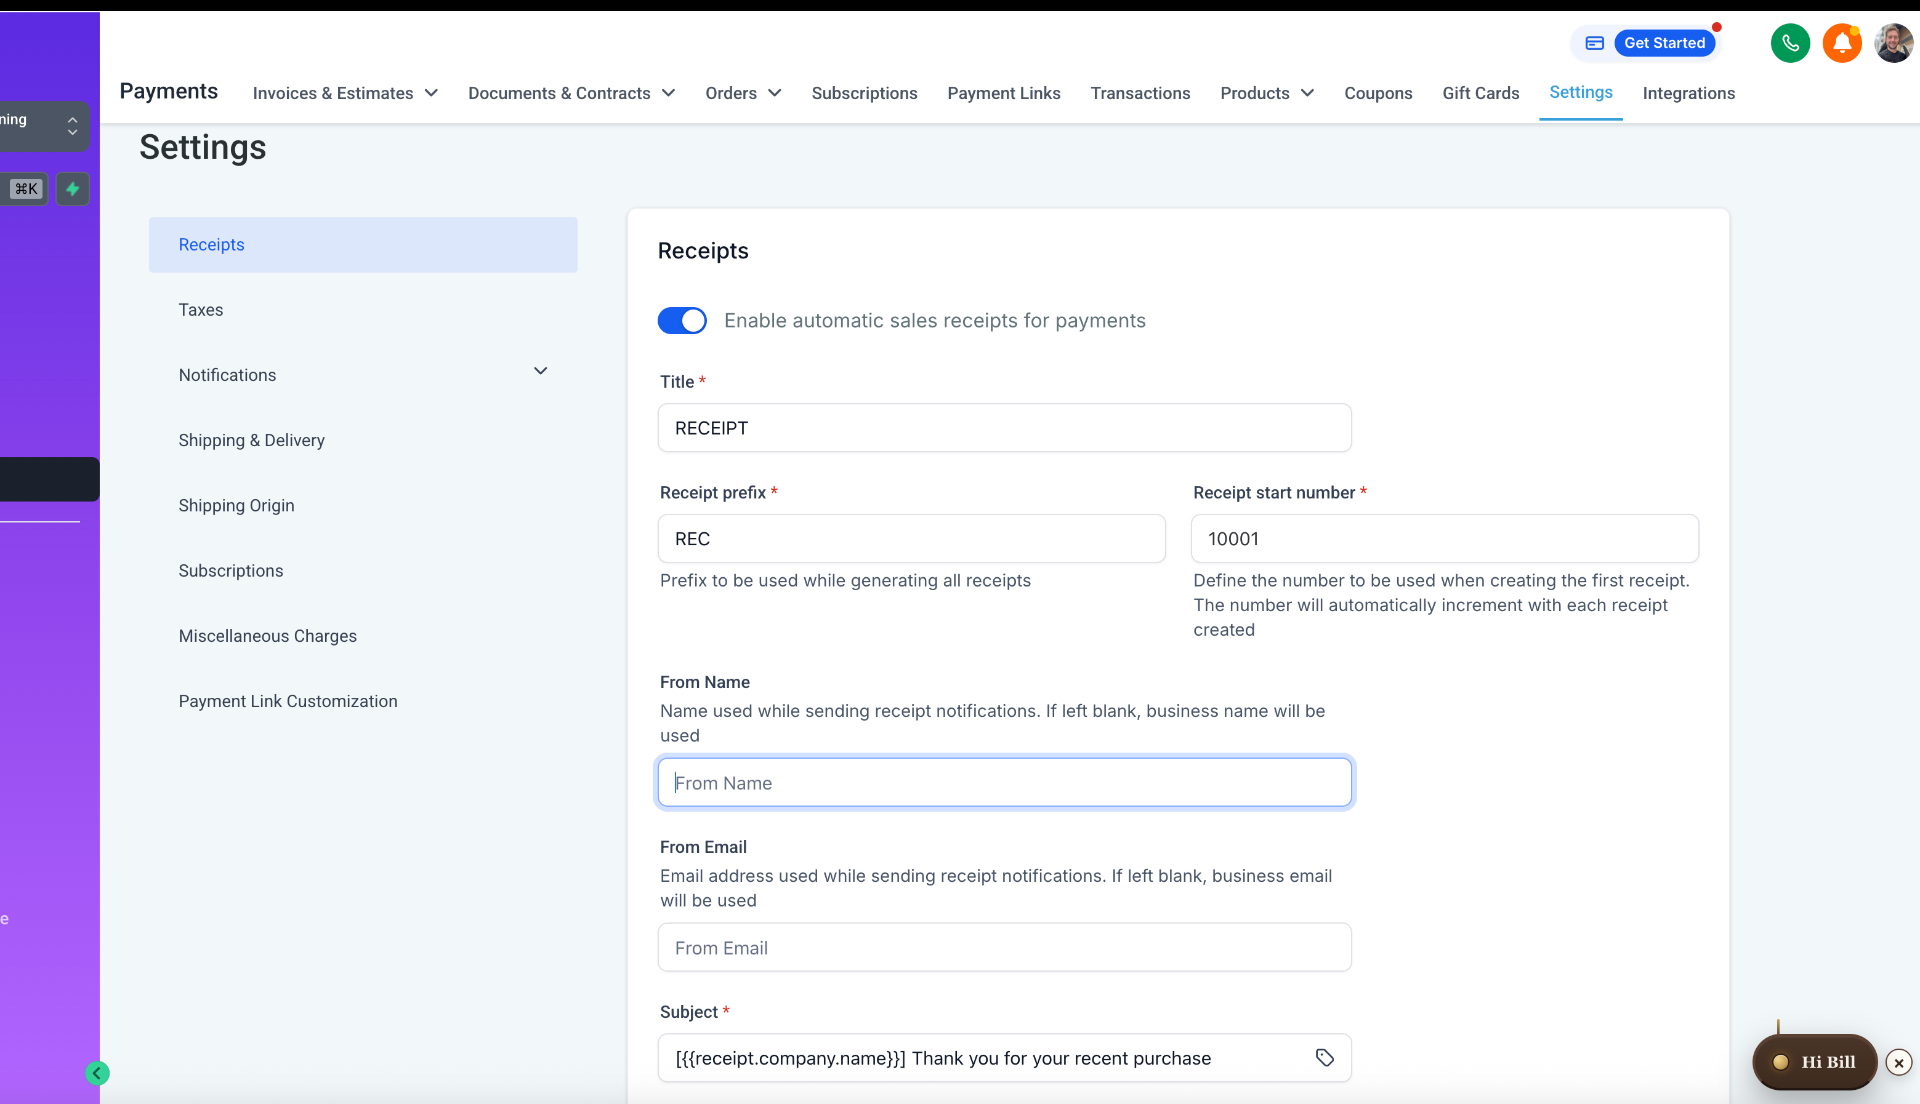
Once Stripe is linked, spend two minutes in Payments → Settings so every charge looks professional from the very first one:
- Receipts — turn on automatic sales receipts so clients get a clean, branded receipt the instant they pay. Set the "From" name and email to your practice so it doesn't come from a generic address.
- Taxes — if you charge tax on any service or product, add your rate here once and it's applied at checkout automatically.
Quick setup checklist
- Connect Stripe (DIY or add us as admin).
- Create your free consultation calendar.
- Create your paid session calendar and attach a price (full or deposit).
- Embed both calendars on your site.
- Install the mobile app if you take any in-person payments, and enable tap-to-pay.
- Turn on automatic invoices for balances and follow-ups.
- In Payments → Settings, enable automatic receipts and set your tax rate.
Want this set up for you?
We'll connect Stripe, build your free + paid calendars, attach the right prices, and embed everything on your site. Book a short walkthrough.
